

Sub-Account Power Setup | HighLevel for Local Clients / part 2
📘 Missed Part 1? Start here:
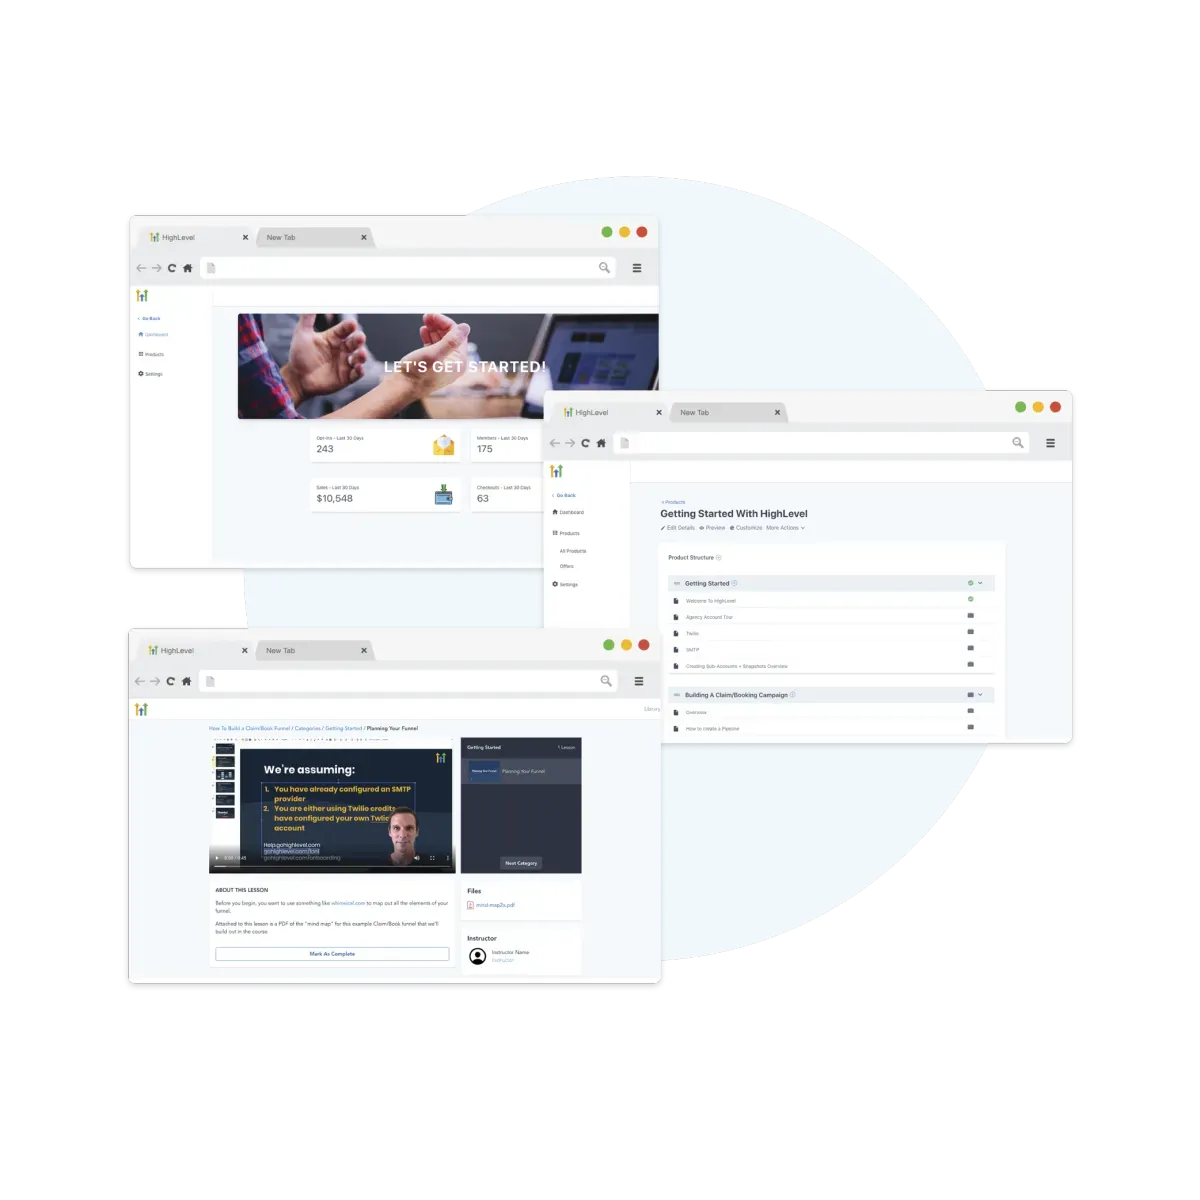
Once your agency account is configured, it's time to get client sub-accounts up and running. This post covers the hands-on process of preparing each client’s workspace so it’s launch-ready with workflows, branding, Stripe, and calendars in place.
🚀 Ready to launch your SaaS business? Get the complete SaaSPRENEUR Local Hero Playbook with proven templates, workflows, and sales strategies.
1. Set General Business Info
In the client sub-account, go to Settings > Business Info and fill in:
- Business name
- Phone number
- Time zone
- Email and website
This sets the defaults for email signatures, forms, and local automation timing.
2. Set Up the Website Domain
To assign a branded domain to the client:
- Buy the domain or have the client provide one
- Add a CNAME record pointing to
cname.highlevel.link - Assign the domain under Sites > Domains
✅ Use SSL (toggle ON) to avoid browser warnings.
3. Purchase and Link a Phone Number
Under Phone Numbers, purchase a local number for SMS and calls.
- Choose area code based on the client’s region
- Set a forwarding number if calls are handled elsewhere
- Enable call recording (optional)
4. Create Custom Values
In Settings > Custom Values, create dynamic variables like:
{{business_name}}{{booking_link}}{{support_email}}
These are reusable across emails, workflows, and funnels.
5. Configure Calendar for Bookings
Under Calendars, create one for:
- Free consultations
- Audit calls
- Sales or support bookings
Connect the calendar to a Google account and assign working hours.
Pro tip: Sync with Zoom or Google Meet for auto-generated links.
6. Integrate Stripe for Billing
Still inside the sub-account:
- Go to Payments > Integrations
- Connect the client’s Stripe account
- Match it with a SaaS plan inside the SaaS Configurator
This lets your client charge their end-users and gives you revenue share.
7. Deploy a Website Template
Navigate to Sites > Funnels or Sites > Websites.
- Use the snapshot template (from Blog Post 1)
- Customize branding, logos, CTAs, and contact info
- Add thank-you and booking confirmation pages
8. Activate Key Workflows
Under Automation > Workflows, activate:
- New lead follow-up
- Missed call text-back
- Post-booking reminders
- Free audit confirmation and delivery
🧠 Edit delays, triggers, and messages to fit the client’s tone.
9. Test the “Free Audit” Claim Funnel
Simulate a lead going through the audit flow:
- Submit the form as a user
- Check SMS/email response
- Confirm booking lands in the calendar
- Review assigned task or internal alert
10. Simulate a Full Client Purchase
Use test mode in Stripe or create a $1 test product:
- Trigger a real order
- Watch the confirmation workflow activate
- Make sure emails, invoice, and access work as intended
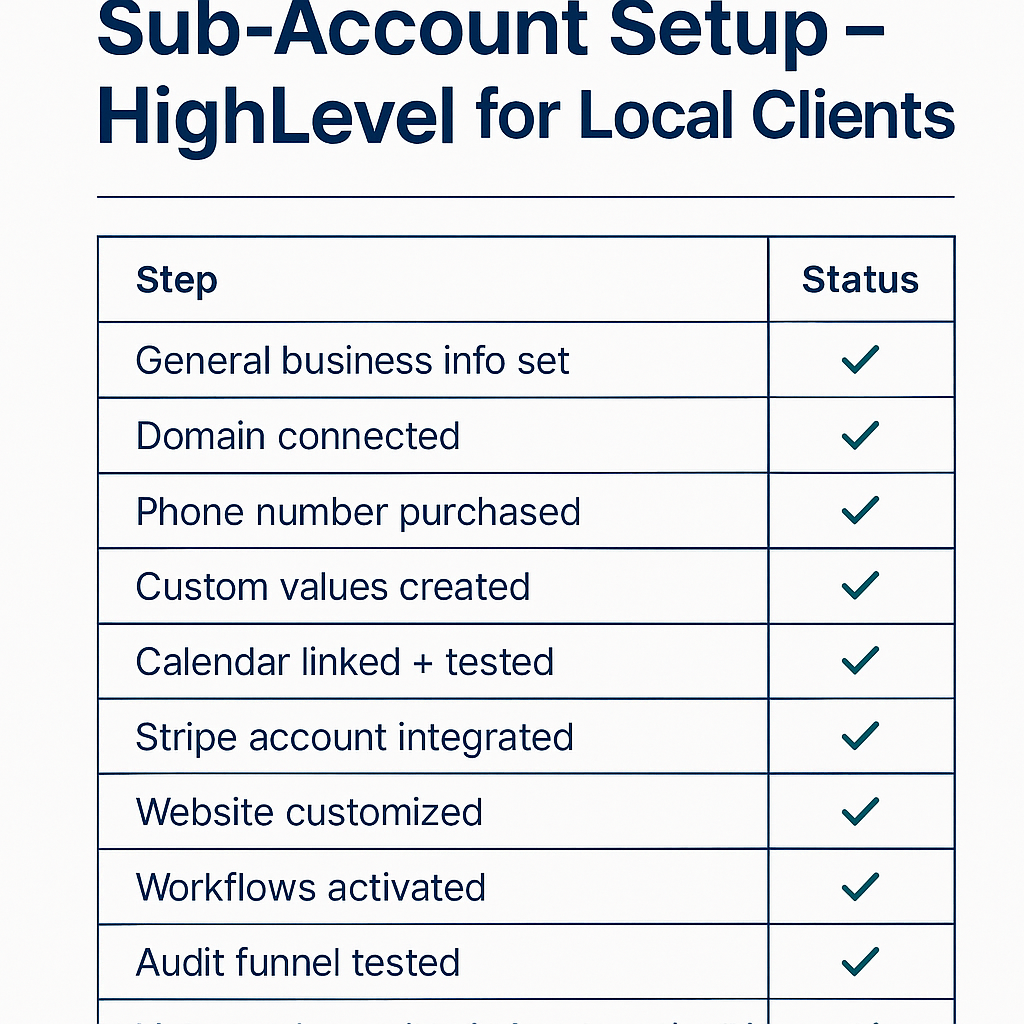
🧾 Sub-Account Setup Checklist
| Step | Status |
|---|---|
| General business info set | ✅ |
| Domain connected | ✅ |
| Phone number purchased | ✅ |
| Custom values created | ✅ |
| Calendar linked + tested | ✅ |
| Stripe account integrated | ✅ |
| Website customized | ✅ |
| Workflows activated | ✅ |
| Audit funnel tested | ✅ |
| Live purchase simulation completed | ✅ |
🔗 Next Step
Ready to find real leads and close your first SaaS deals?
👉 Continue to Blog Post 3:
