SaaS Setup Playbook | Launching Your HighLevel Agency (Step-by-Step) / part 1
Before you pitch or onboard a single client, you need a clean, fully configured white-label agency setup. This guide walks you through the exact steps to get your foundation right and start building predictable monthly income.
✅ 🚀 Get the SaaSPRENEUR Local Hero Playbook!
Launch your white-label SaaS business with a proven system.
Step-by-step setup. Built-in workflows. Real sales strategies.
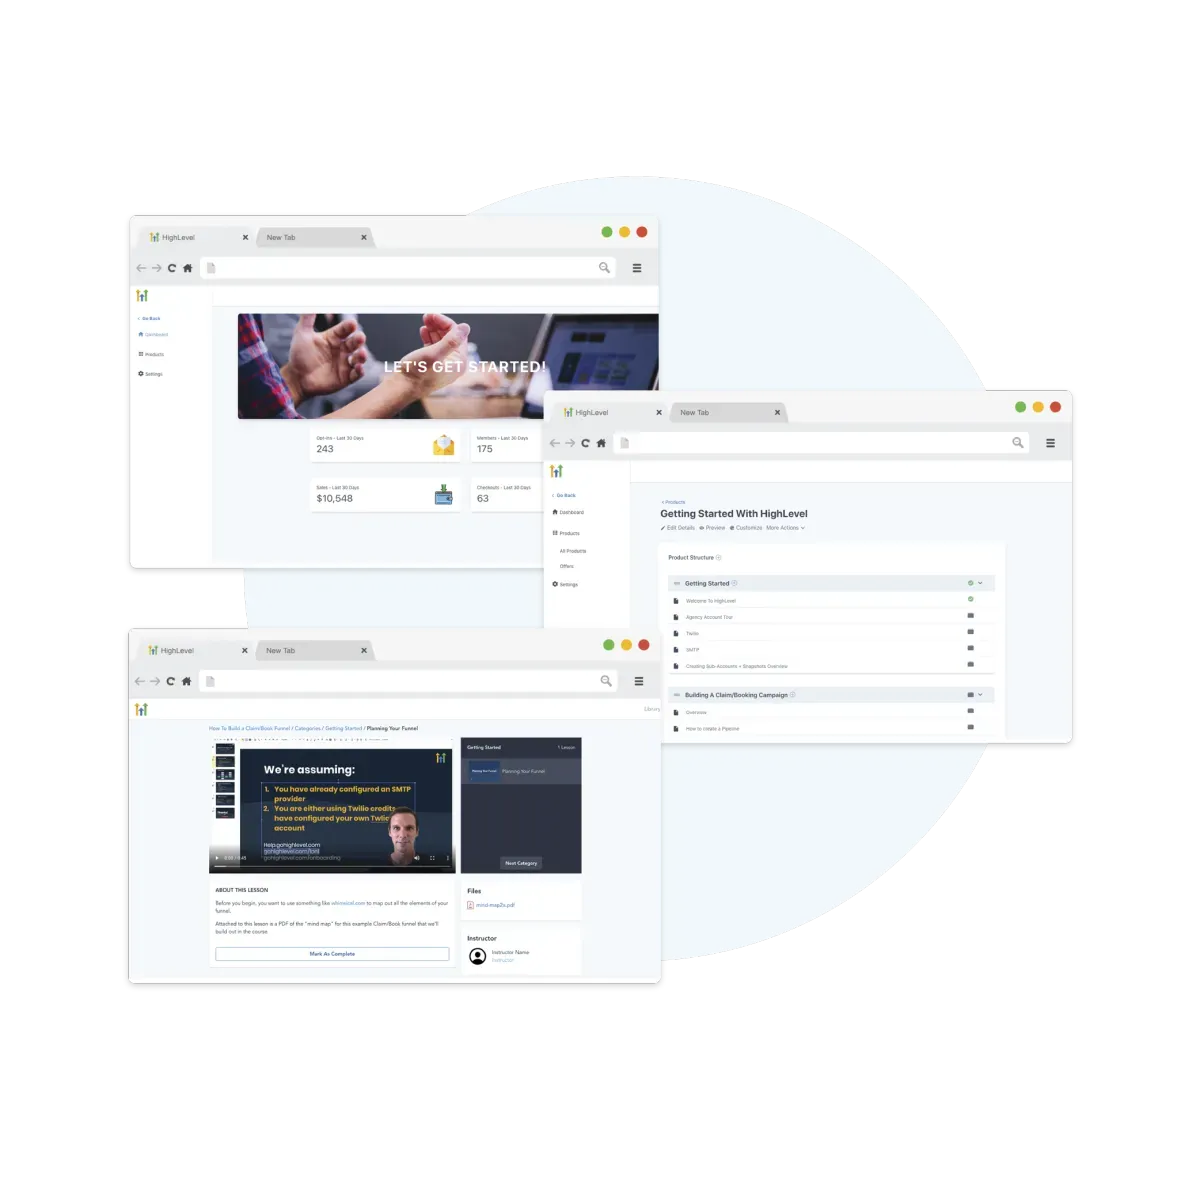
1. Create Your GoHighLevel Agency Account
If you haven’t already, start with a GHL agency subscription. This gives you access to sub-accounts, the SaaS configurator, white labeling, and the ability to resell services.
Tip: Choose the SaaS Pro plan if you want full automation and margin control.
2. Activate LeadConnector
Go to your agency dashboard → Settings → Twilio/LC Email Setup. Activate LeadConnector for:
- Automated SMS and email
- Local presence phone numbers
- Smart routing through GHL workflows
⚠️ Without this, your automations won't trigger properly.
3. Set Up Your White-Labeled Login URL
Brand your client login portal (e.g. portal.youragency.com) by:
- Setting up a CNAME in your domain registrar
- Pointing it to
app.gohighlevel.com - Assigning the URL in your Agency Settings
4. Set Your API Domain
For API use and branding consistency:
- Add a second CNAME (e.g.,
api.youragency.com) - Point it to
api.msgsndr.com - Assign this under the Developer/API section
5. Upload Your Logo & Enable AI
Add your agency’s logo and color scheme under Agency Settings > Company.
Then activate HighLevel’s built-in AI for workflows, messaging, and snapshot building.
🧠 The AI builder can speed up client onboarding by 3×.
6. Connect Your Stripe Account (Agency Level)
To handle client billing directly:
- Go to Settings > SaaS Configurator
- Connect your Stripe account
- Add your base subscription plans (Starter, Standard, Premium, etc.)
7. Import the Local Hero Snapshot
Download the Local Hero Playbook snapshot and upload it into your Agency Library.
This includes:
- Landing pages
- Email/SMS workflows
- Calendars
- Custom values
Use it as a launch template for each new client.
8. Configure Your SaaS Plans
Inside the SaaS Configurator, assign features and automations to each pricing tier:
- Number of users
- Email/SMS credits
- Premium features (AI, reporting, GMB chat, etc.)
- Pricing and trial options
Test each tier before going live.
✅ Final Checklist
| Task | Status |
|---|---|
| Agency account created | ✅ |
| LeadConnector activated | ✅ |
| White-label login set up | ✅ |
| API domain configured | ✅ |
| Logo uploaded + AI activated | ✅ |
| Stripe connected | ✅ |
| Local Hero snapshot imported | ✅ |
| SaaS plans configured | ✅ |

🔗 Next Step
Ready to build sub-accounts and launch client sites?
👉 Continue to part 2: